3D Printers
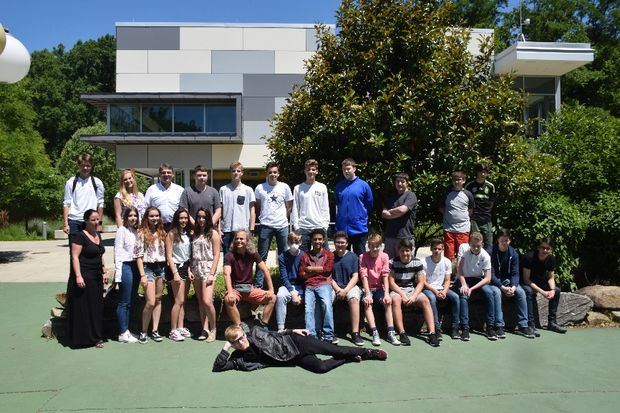
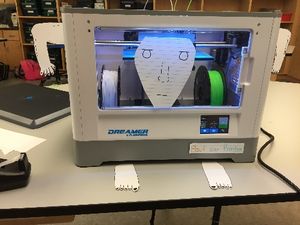
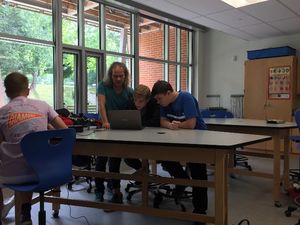
In our project group we worked with the six brand-new 3D printers by Flashforge. It was the first opportunity for all of us to work with this new equipment. We had so much fun, we learned a lot and we would like to thank the generous donors of the Annual Giving Campaign who made this purchase possible.
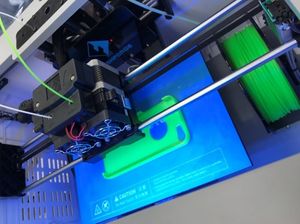
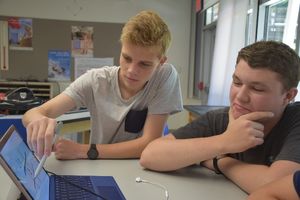
In order to create the model that we ended up printing, we worked with the Tinkercad website where you combine small parts to assemble larger models. In order to actually create the print, the material is heated to 200º C and is then put into the model’s shape on the platform in the printer.
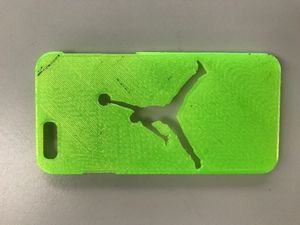
You can print anything you want on the 3D printers, such as cell phone cases, figures, and name plates.
OUR WORKING GROUPS:
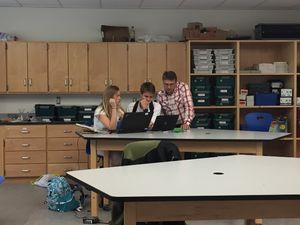
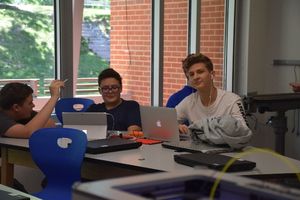
In addition to designing and printing the models, we worked on different tasks in small groups as follows:
Technical group:
Our technical group was responsible for setting up the printers and for technical support in order resolve any issues.
Guide Group:
The guide group created a guide explaining how to use the 3D printers including a list of possible issues that can come up along with hints on how to prevent or to resolve these issues.
Interview:
The interviewers recorded thoughts and expectations of all our groups.
Documentation:
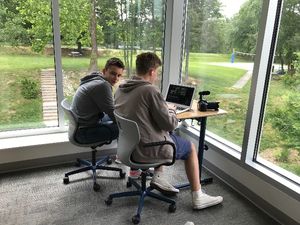
The documentations group recorded the work of each group in photos and videos as well as the actual process from theoretical planning all the way to the actual 3D printing of an object.
Learning Videos:
This group created short tutorial videos about the Tinkercad Program for other students to use as a resource.
|
Tutorials (all videos are in German) |
Title |
|
Working with Shapes |
|
|
The Work Plane |
|
|
Perspectives and how to control the Camera |
|
|
Drilling |
|
|
Adding text |
|
|
From Tinkercad to 3D Printer |

